MuMuPlayer Screen Recording Tutorial
MuMuPlayer provides you with the Screen Recording function, making it convenient for you to record the screen within MuMuPlayer. It supports simultaneous recording of MuMuPlayer audio and other input audio, making it easier to create tutorial videos.
1. How to start recording video
Step 1. Enable the screen recording function
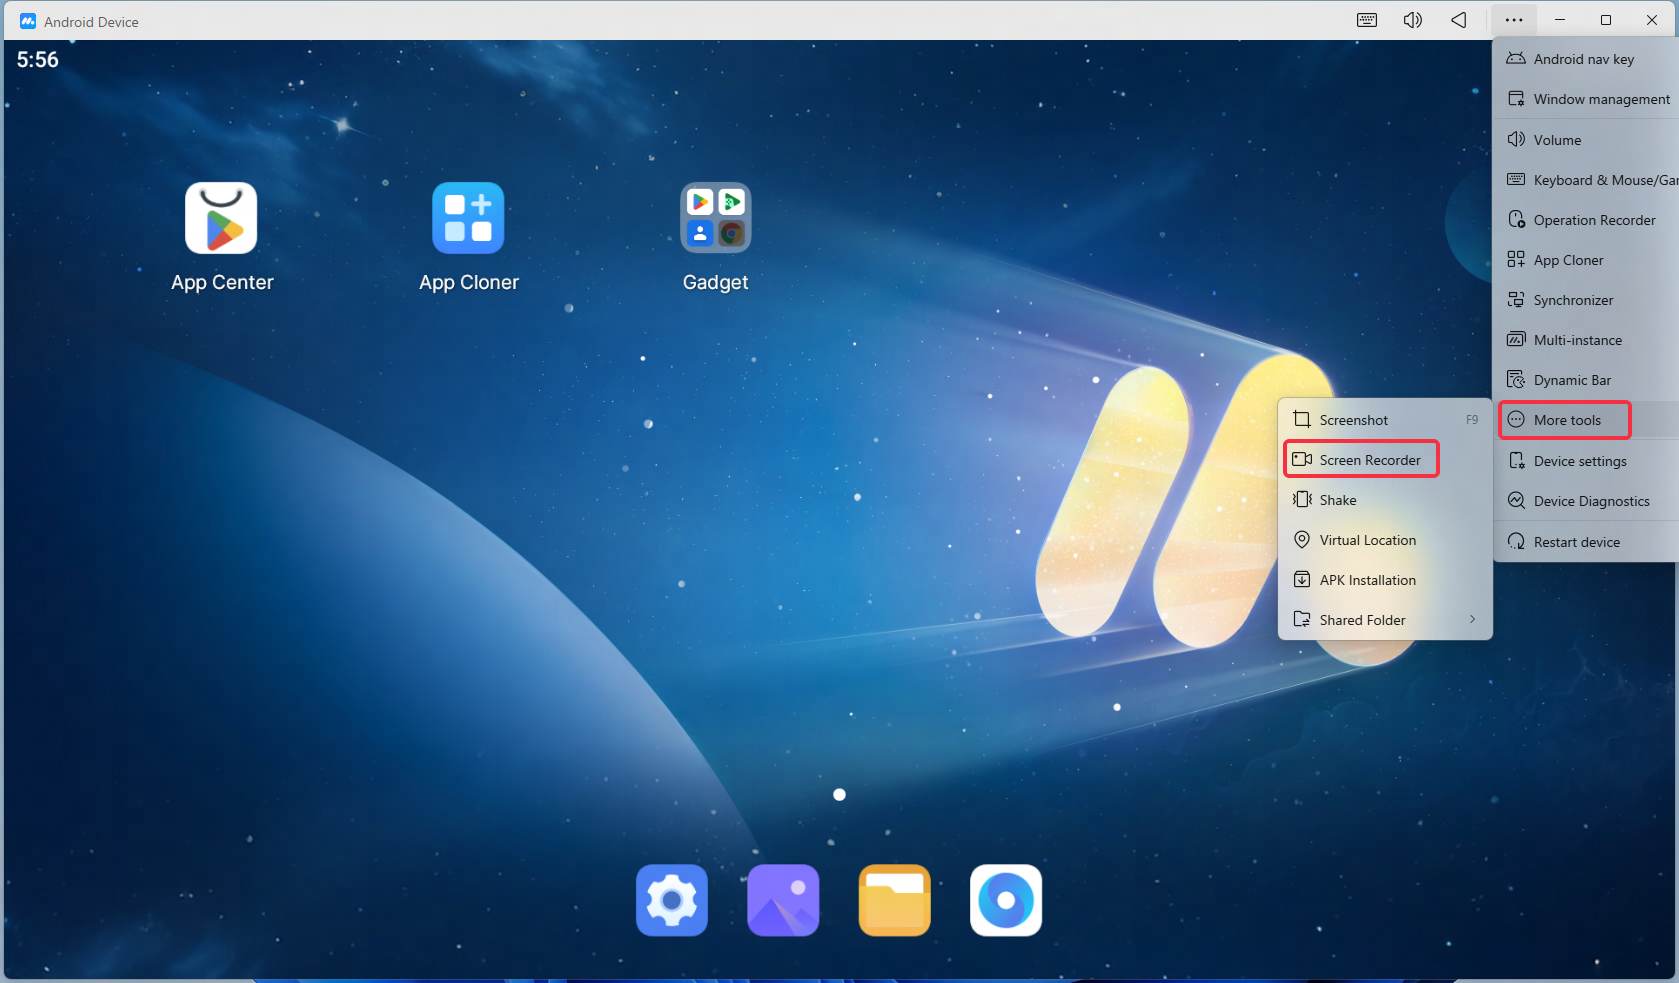
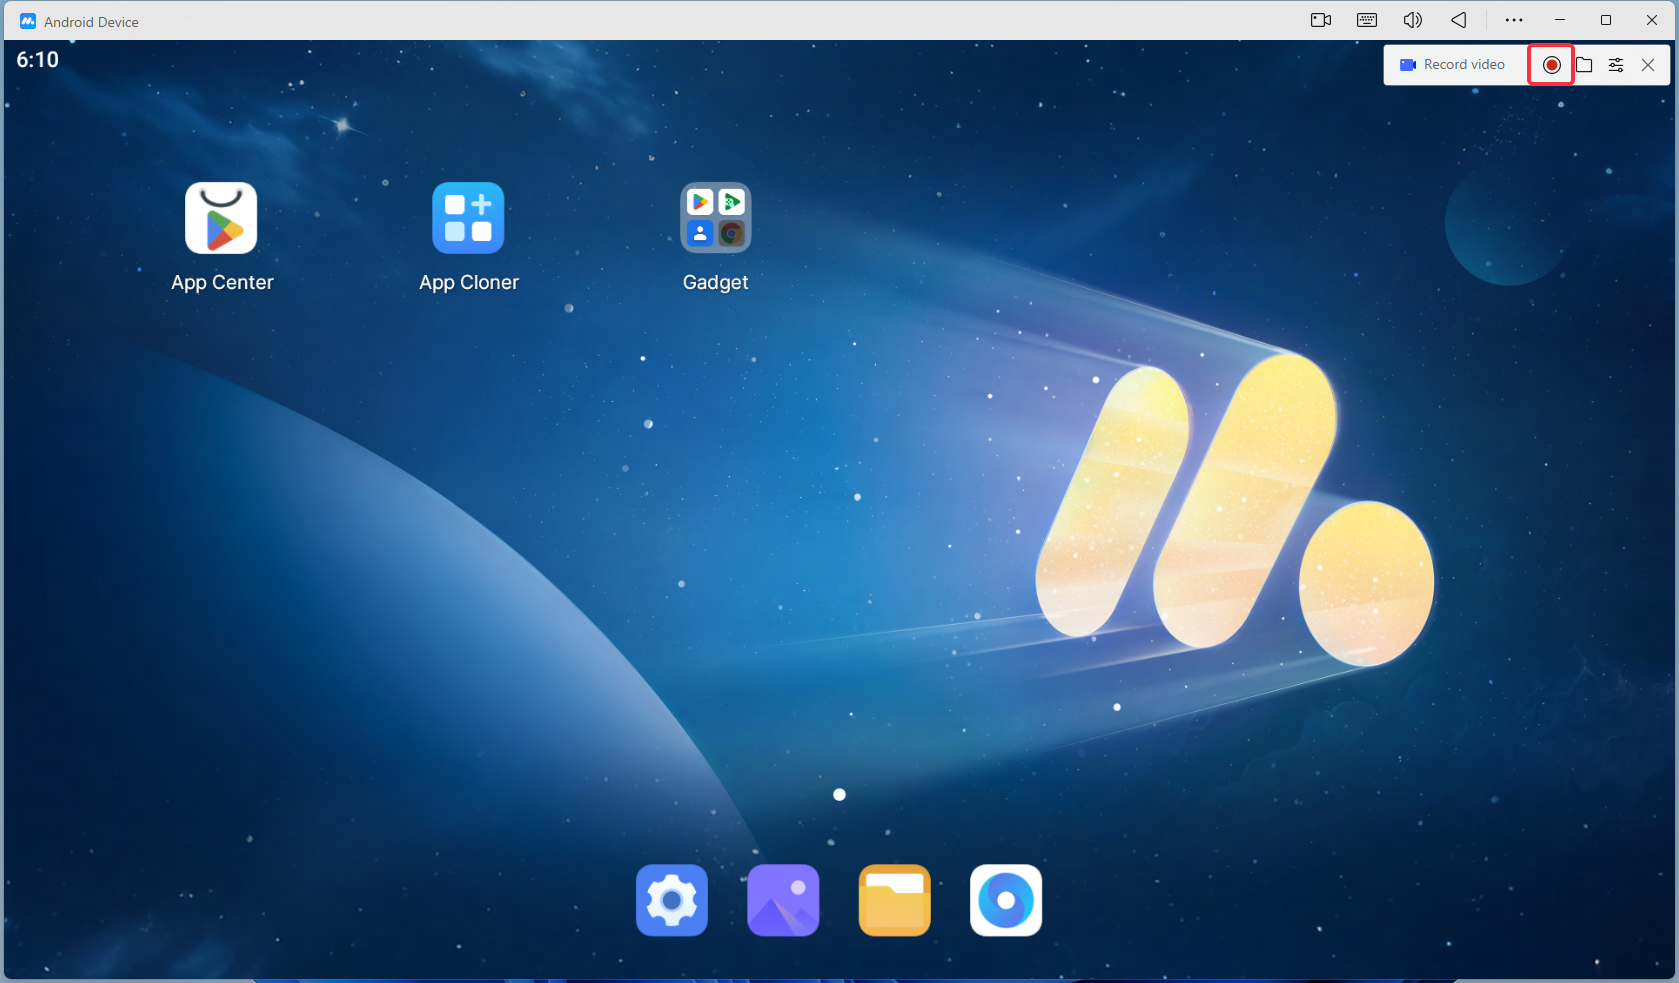
Click the "..." icon in the upper right corner of MuMuPlayer - pull down the toolbar, click on "Screen Recording" to bring up the floating window for the screen recording function, then click the red button to start recording the screen after a 3-second countdown. Alternatively, you can use the shortcut key to start screen recording (the screen recording shortcut key can be set in the MuMuPlayer settings center).
Step 2. Adjust the floating window of the screen recording function
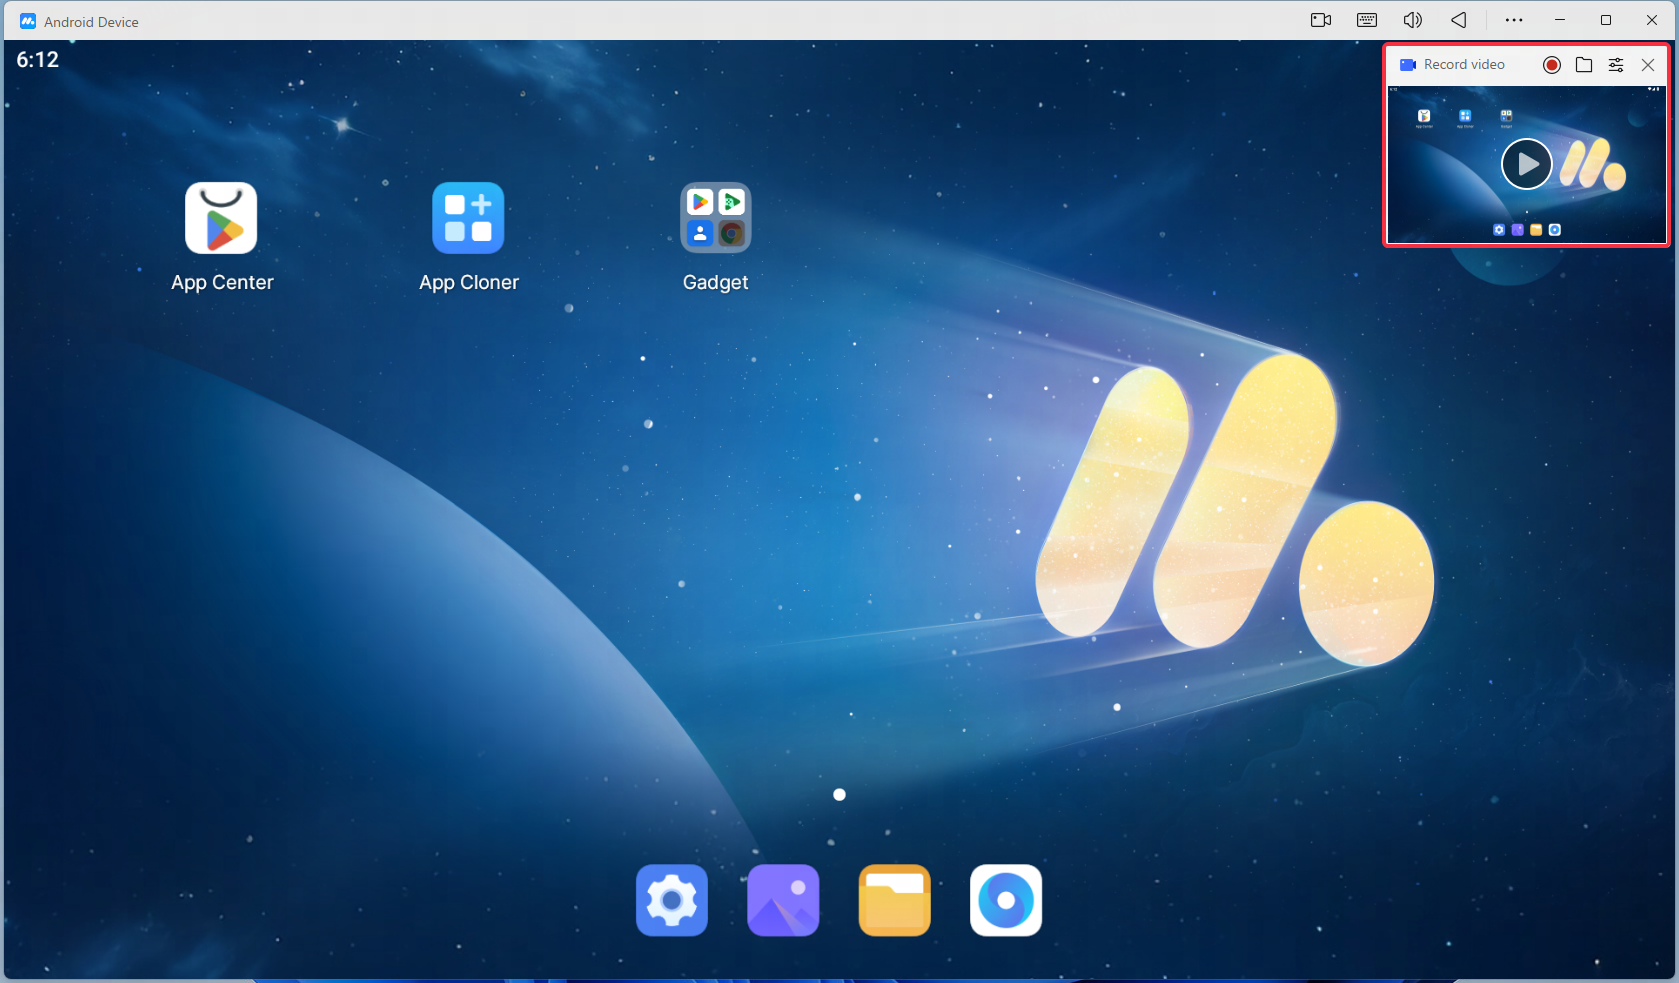
After recording starts, the screen in MuMuPlayer will be recorded. The recording icon and the recording status floating window will appear in the upper right corner. You can see the recorded time and pause/continue recording. Click the small arrow to move the function icon up, and click the function icon to bring up the recording status floating window again.

Step 3. Save Screen Recording File
After the recording is completed, click the End Recording button, and the file will be automatically named and saved according to the name of the application where the recording was performed. The recording file will be displayed as a thumbnail in the top right corner of the MuMuPlayer, click on it to view the recording file.
2. How to view screen recording files
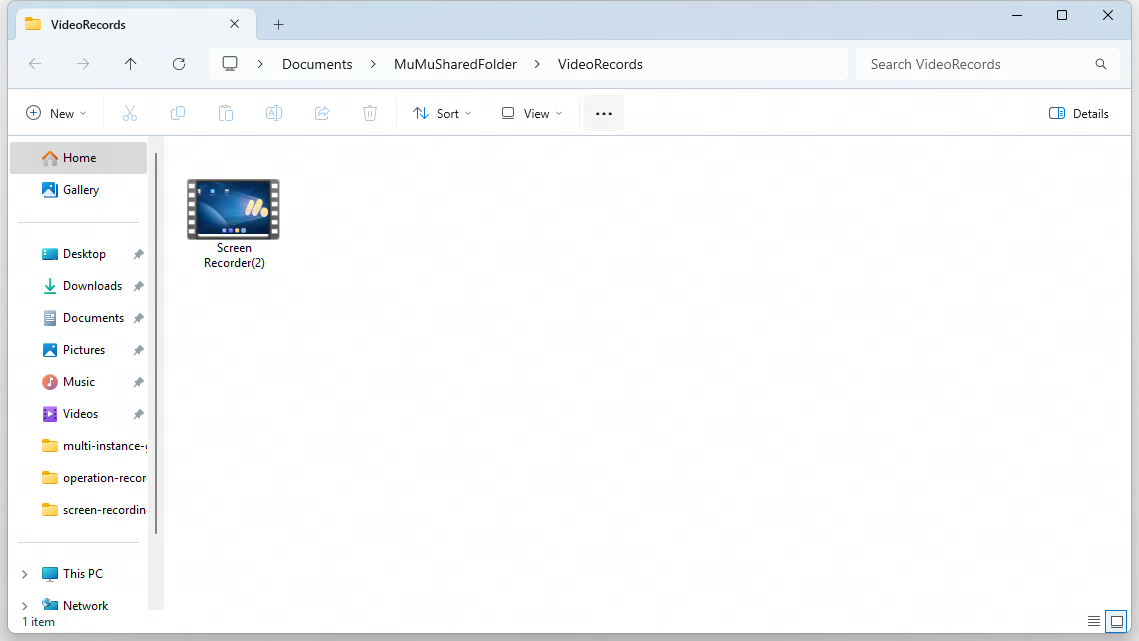
To open the screen recording function, click the screen recording file entry in the screen recording floating window to open the screen recording file list.

3. How to modify the screen recording settings
If you need to modify the video output quality, audio content, storage path, etc., you can click the gear icon in the floating window of the screen recording function to open the screen recording settings for modification.
Note: The screen recording resolution is the resolution of the MuMuPlayer. If you need to adjust the resolution, you can go to the MuMuPlayer menu-Setting-Display to change it.

Screen recording settings include the following settings:
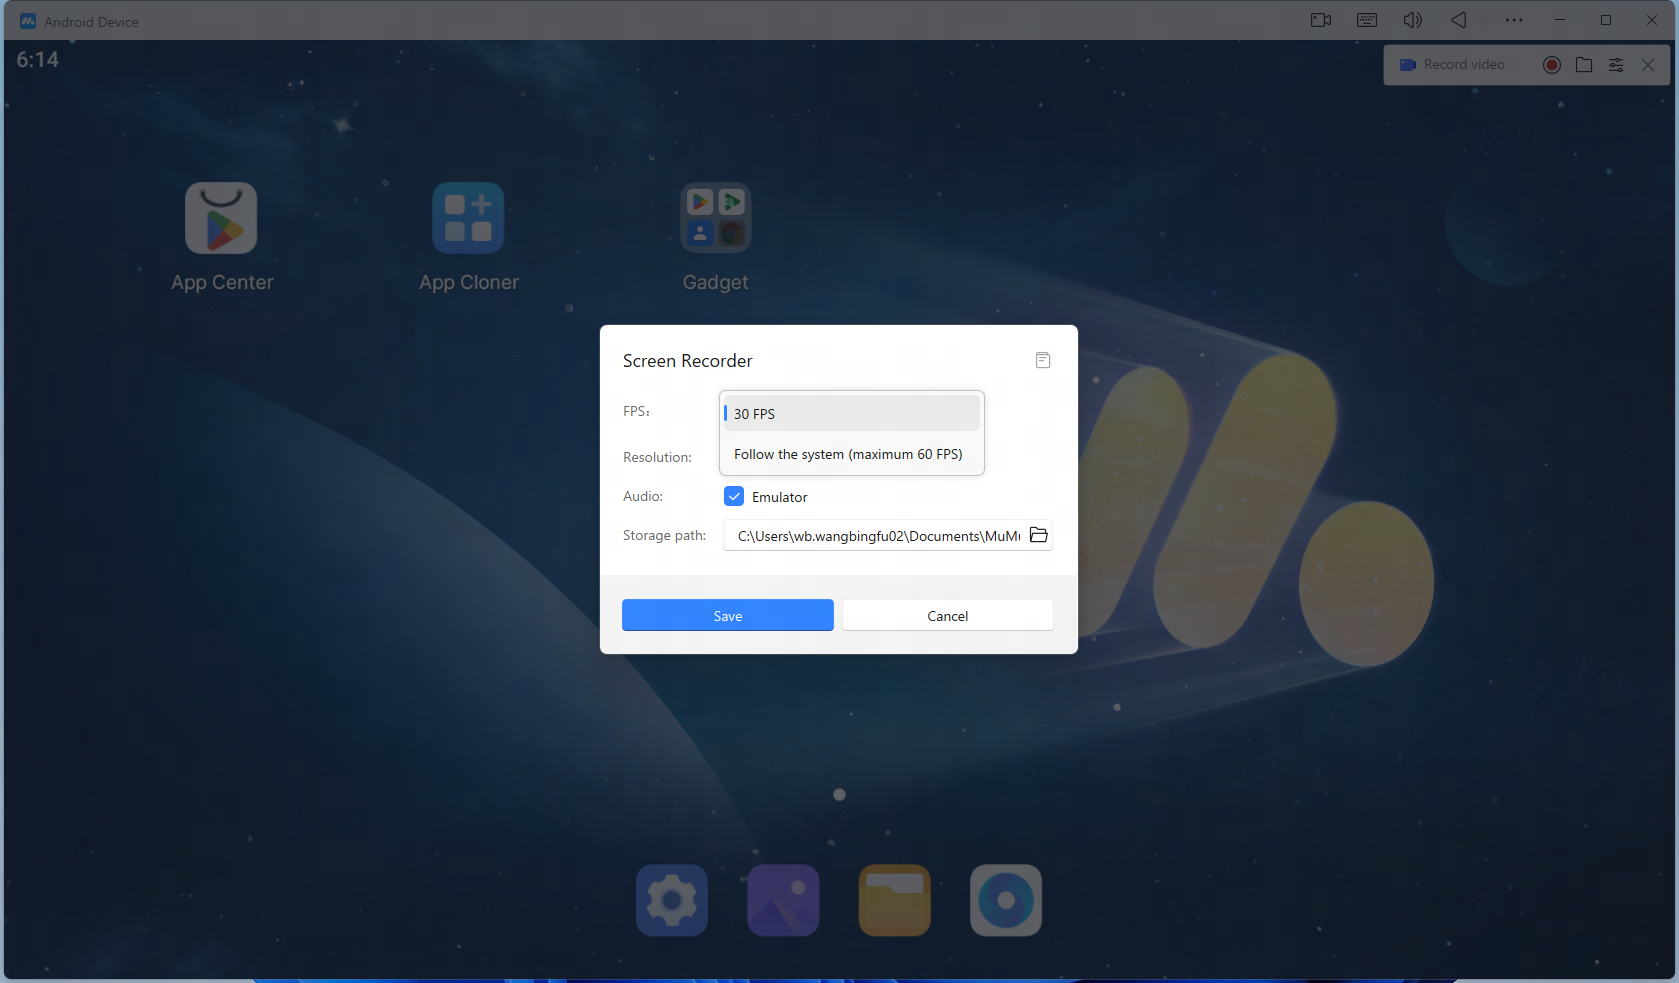
(1) Frame rate: You can choose 30 frames or follow the system frame rate (up to 60 frames). The higher the frame rate, the smoother the video, but it will also take up more space.
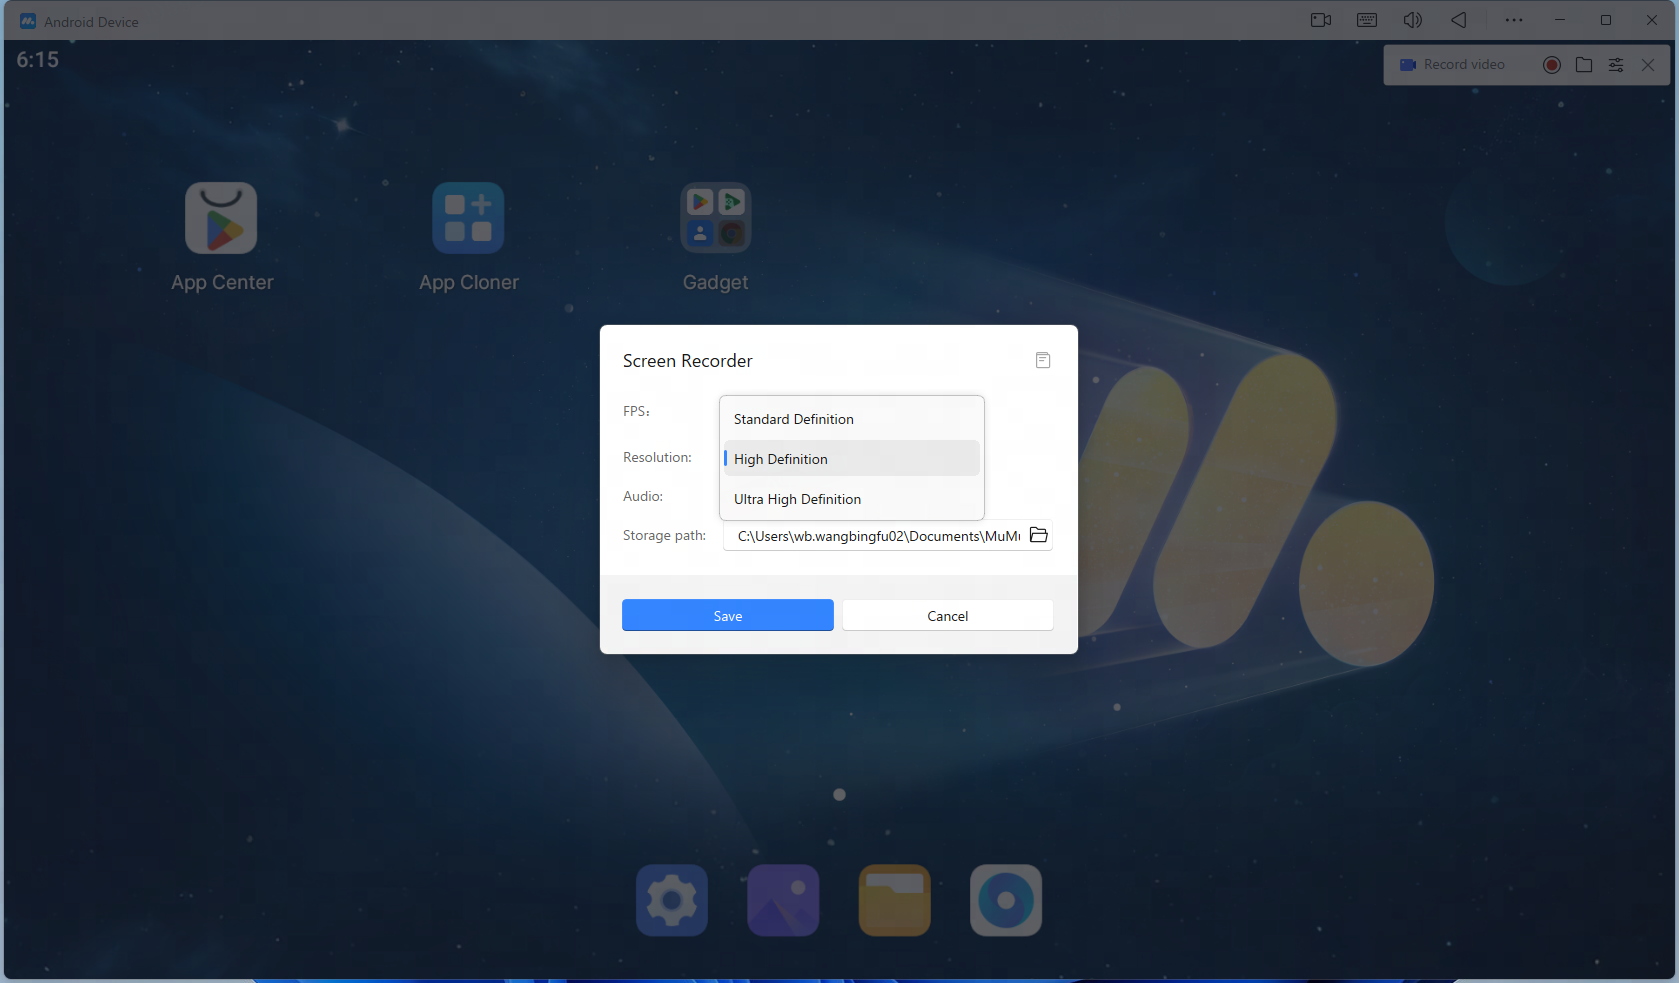
(2) Resolution: You can choose SD, HD, and Super Definition.
(3) Audio: You can select the audio input you need, up to two options.
If none are selected, there will be no audio;
If only MuMuPlayer audio is selected, only the audio from MuMuPlayer will be output;
If other audio is selected, only the computer input audio (such as microphone recording) will be output;
If both are selected, the two audio sources will be mixed and output together.
(4) Save path: The default save path for screen recording files is the MuMu shared folder. Click Change to modify the save path for screen recording files. It is recommended to change it to a disk path with sufficient storage space.
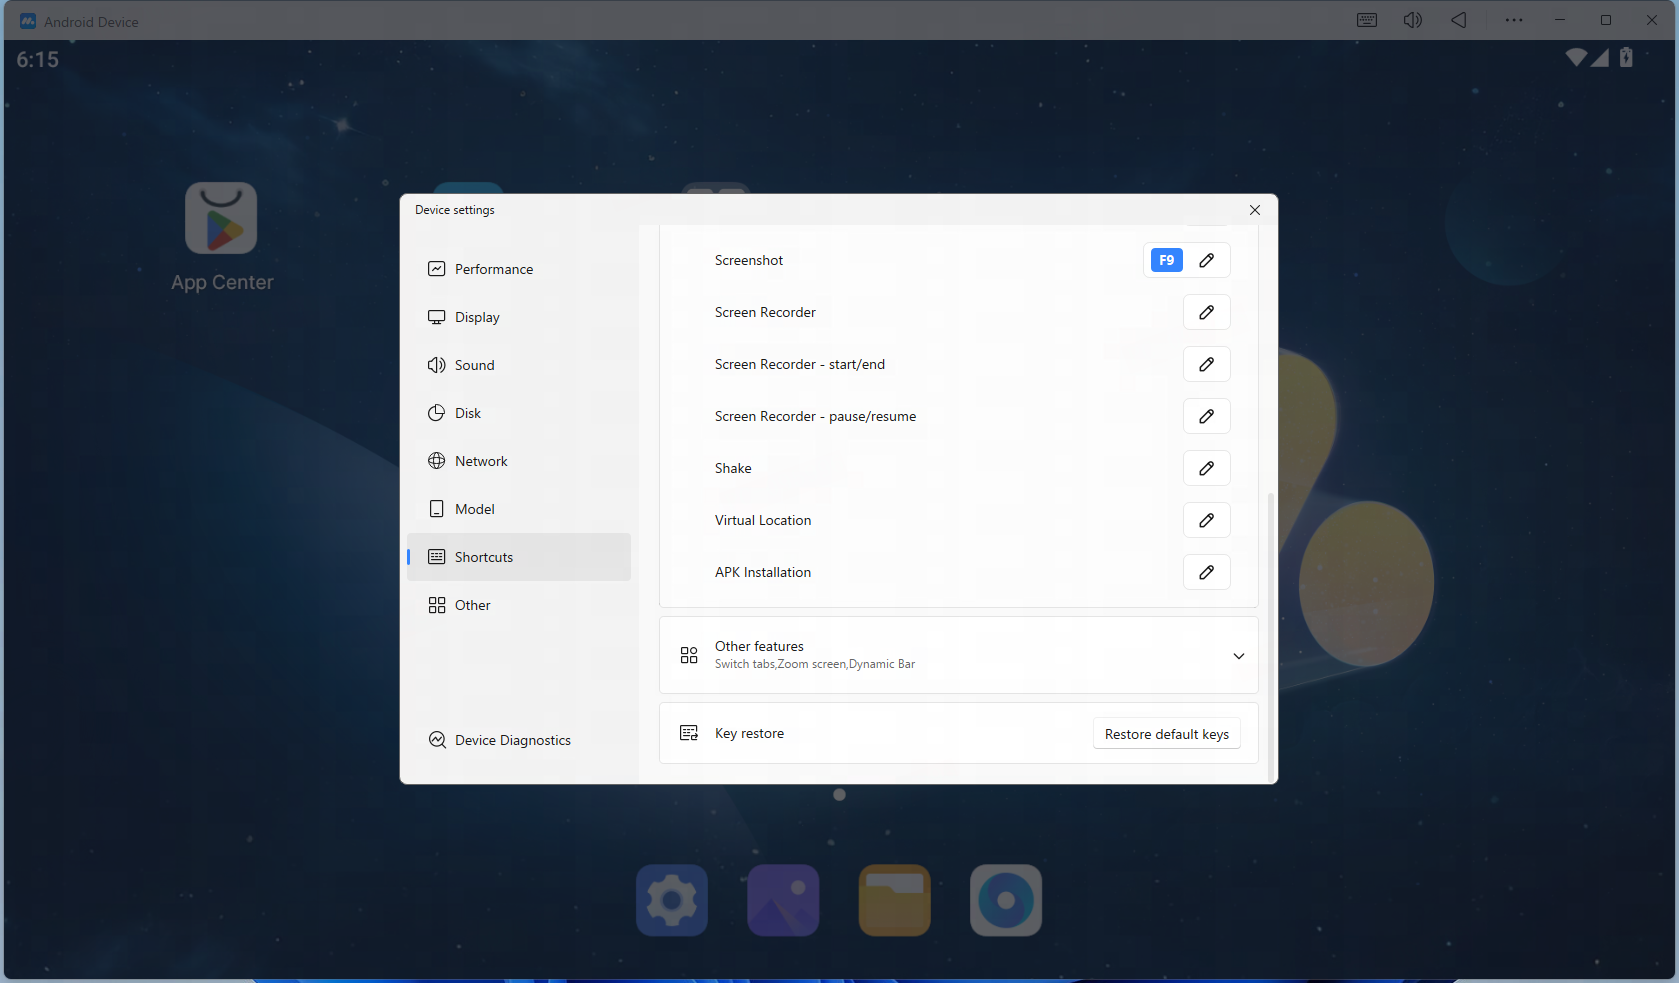
(5) Shortcut key: If you need a shortcut key to operate screen recording, you can go to "Menu-Settings-Shortcut" to set it. After setting, you can use the shortcut key for screen recording.
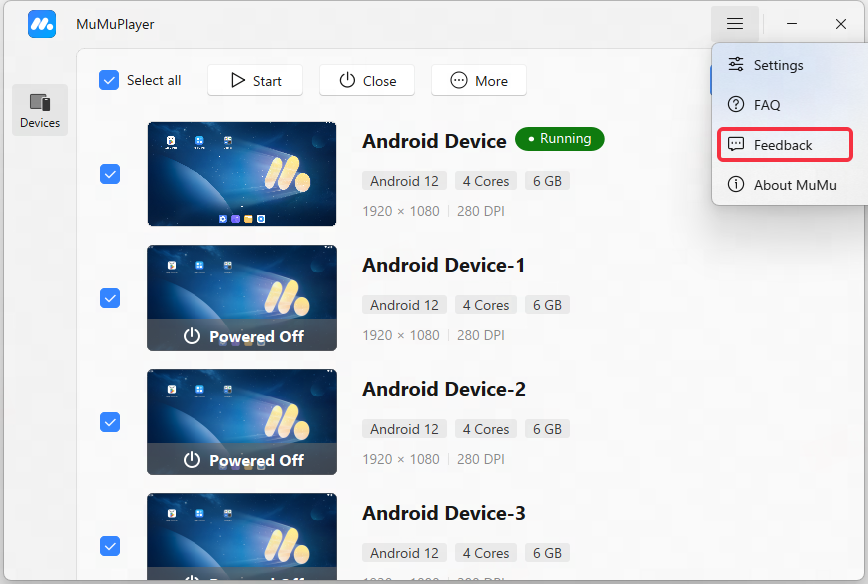
The above is the screen recording tutorial for MuMuPlayer. If you have other needs or any questions related to screen recording, please fill in the feedback form.
End of Article